Refretting a '63 Stratocaster |
|
|
|
|
|
|
|
1.
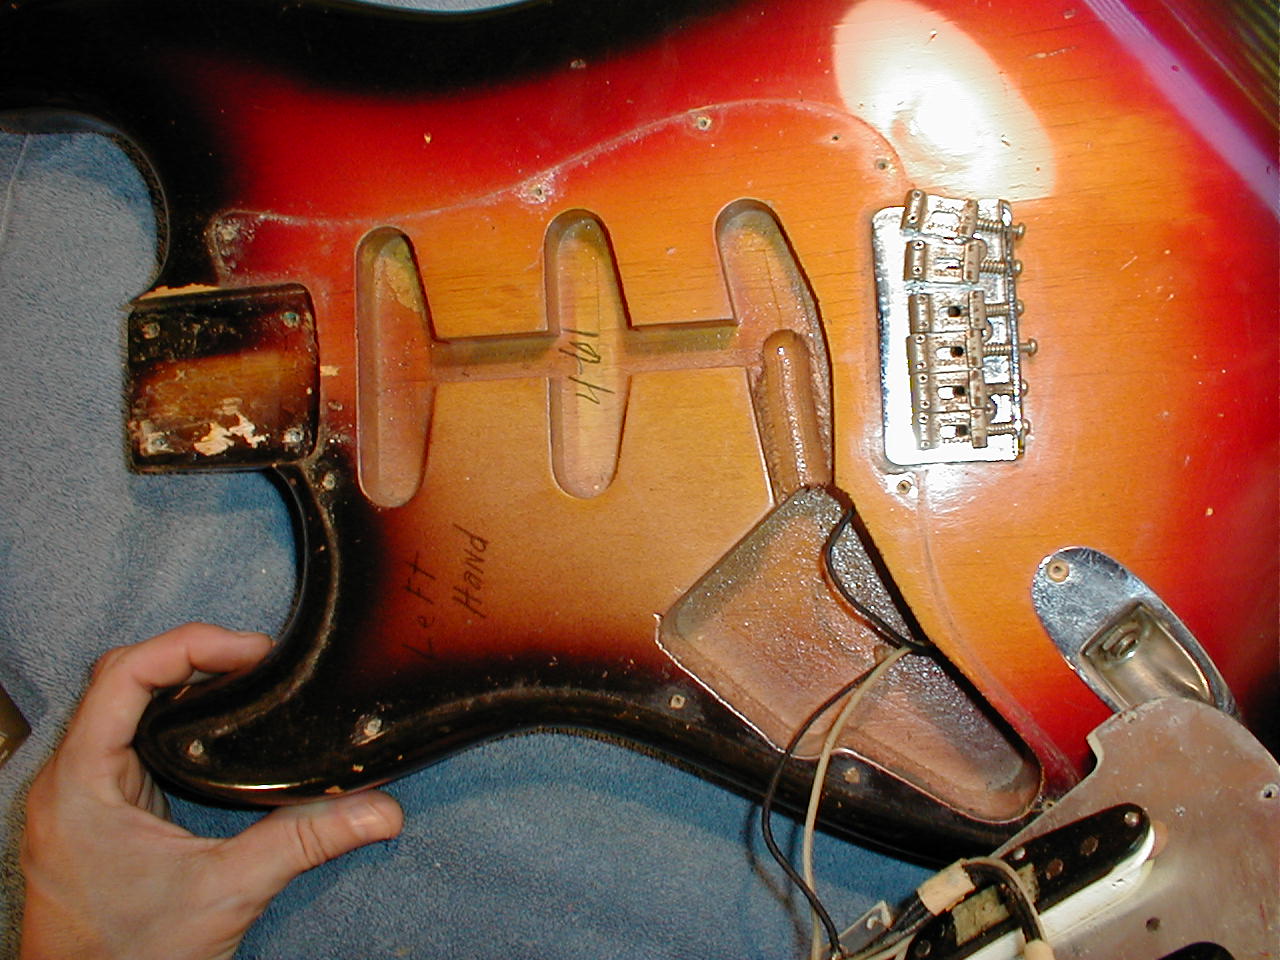
A fella brought in this lefty
Stratocaster. He told me he purchased it new in 1967 (one year
before I was born!) and wanted me to do whatever it needed to get it
into playing shape again. It was badly in need of a refret (there
wasn't enough fret left to dress) and it had some output problems.
Once I took the guitar apart, I was surprised to find that the neck
was dated "1-62" and the body "4-61". I looked up the serial number
and it dated the guitar at 1963, pre-CBS, baby - and not a '67 at
all! |
|
|
|
|
|
|
|
|
|
|
|
|
|
|
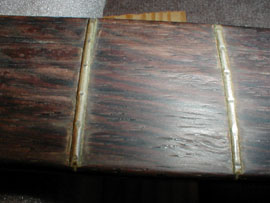
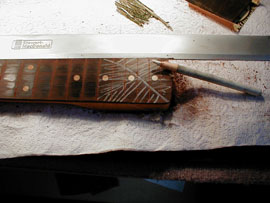
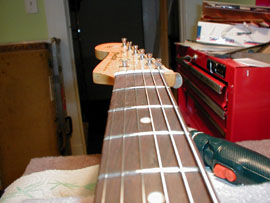
2.
As you can see in the picture above, the frets contained deep divots
up and down the the neck and many flat spots. The fretboard was also
worn and I had a hunch I would have to do some planing to true-up
the board.
|
|
|
|
|
|
|
|
|
|
|
|
|
|
|
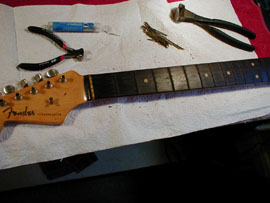
3.
First I had to remove the frets. The rosewood fingerboard was
very dry and I knew it would be tough to remove the frets
without chipping the board so I slathered on some lemon oil and
let it sit a couple days before trying to remove the frets. |
|
|
|
|
|
|
|
|
|
|
|
|
|
|
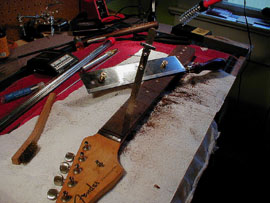
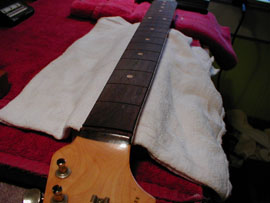
4.
Then, I began to pull the frets very slowly and carefully, using
heat from my soldering iron and a little solder to help spread
the heat. The frets came out with no chipping. Ya can't rush
good fret work.
|
|
|
|
|
|
|
|
|
|
|
|
|
|
|
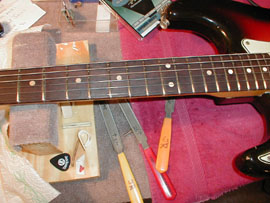
5.
Next, I checked the fingerboard with a straightedge and found
that there were some humps and dips. So, with my straightedge
and a china marker, I started to mark the areas that needed
attention, and got down to business. I used a file and sandpaper
to even out the board until it was straight as an arrow and then
hit it with a radius block to make sure it had an even 7.25"
radius. When it was done to my satisfaction, it was time to
prepare the fret slots.
|
|
|
|
|
|
|
|
|
|
|
|
|
|
|
6.
I cleaned the slots with a slot scraping tool and then measured
the depth of each slot. The slots needed to be a little deeper
so I determined how much. I adjusted the gate on my saw to the
determined amount and started to saw each slot very carefully
and measuring often.
|
|
|
|
|
|
|
|
|
|
|
|
|
|

|
7.
Once that was done, I cleaned all the fret slots and cleaned up
the neck and my work area. Rosewood dust gets everywhere!! Now
it was ready to be fretted. Next, I radiused the fret wire for
the 7.25" radius of the fingerboard. Sorry I don't have pictures
of hammering in the frets, my batteries went dead!
|
|
|
|
|
|
|
|
|
|
|
|
|
|
|
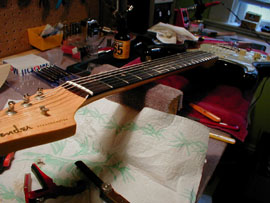
8.
Anyway, I cut the fret wire to size for each fret. I use a
little Titebond glue in each slot and then I hammer in the fret.
Then I secure the overhanging fret ends with rubber bands and
when all the frets are seated, I clamp the entire board with
plexiglass and cam clamps. There are a lot of ways of fretting
guitars. This is the method I use. There is no right or wrong
way, as long as the frets seat nicely and stay that way.
|
|
|
|
|
|
|
|
|
|
|
|
|
|
|
9.
The middle pickup was not working properly, it was reading only
1.9K Ohms. I sent it to
Lindy Fralin for rewinding. I also replaced the 3-way switch
with a 5-way at the request of the customer. I made sure he kept
the 3-way switch in case he ever wants to sell this sweety!
|
|
|
|
|
|
|
|
|
|
|
|
|
|
|
10.
As you can see, this job turned out nicely. I had to make a new
nut, as is often the case when you refret a guitar. This one is
hand-crafted out of bone. I set up the guitar with 10 gauge GHS
Boomers and it plays like butter. No buzzing, smooth action, and
properly intonated.
|
|
|
|
|
|
|
|